
Chocolate Meringue Pie – It’s sooo good when the pie is still slightly warm!
I spent a good portion of my childhood in my Grandma’s kitchen, as well as my Mama’s kitchen. Chocolate Meringue Pie is one of the most memorable dishes to come out of her kitchen. The recipe has been in my Grandma’s family forever and was passed down to her through generations of amazing cooks.
I can remember my Aunt Sue-Sue telling me how Grandma always made this pie for her birthday each year. Aunt Sue-Sue said it was the best when it was still slightly warm from the oven. It’s still one of her favorite pies after all of these years.
This chocolate meringue pie has been a part of our Christmas and Thanksgiving dinners ever since I can remember. Somehow I was always in her kitchen when she was making one, partly because I knew there was always “extra crust” and she’d make me some mini sugar pies. Those were the best, I’m telling ya! Grandma would roll out the pie crust scraps into little circles, fill ‘em with butter, cinnamon and sugar, then fold them over into half-moons and sprinkle extra cinnamon and sugar on top. She’d put them on a cookie sheet and bake ‘em in the oven. Can you say YUM!?!
I had the pleasure many years ago of learning how to make this pie with Mama by my side. She passed along the recipe and some wonderful tricks, much like her mother passed them to her. I will cherish the memory of that day for years to come.
This pie is truly a labor of love. It requires constant stirring so that it does not burn and just when you think that your arm is going to fall off, the magic happens. Out of nowhere, it suddenly changes to a thick, bubbling boil. But beware, there is a good chance that a bubble will pop on your arm and that’s not fun, trust me! (I speak from recent personal experience, y’all). That’s when you know that it is done. And that is also when you confirm your love for the recipient of this pie (you don’t put up with burning flesh for just anyone, do you?). My Grandma and Mama must have really loved me because I’ve eaten a lot of chocolate meringue pie in my day. ❤
See my recipe below!

In a heavy bottomed stainless steel 2qt. pan, mix your sugar, flour, salt, cocoa,

Next, mix in your egg yolks and milk. Get your whisk and start mixing!
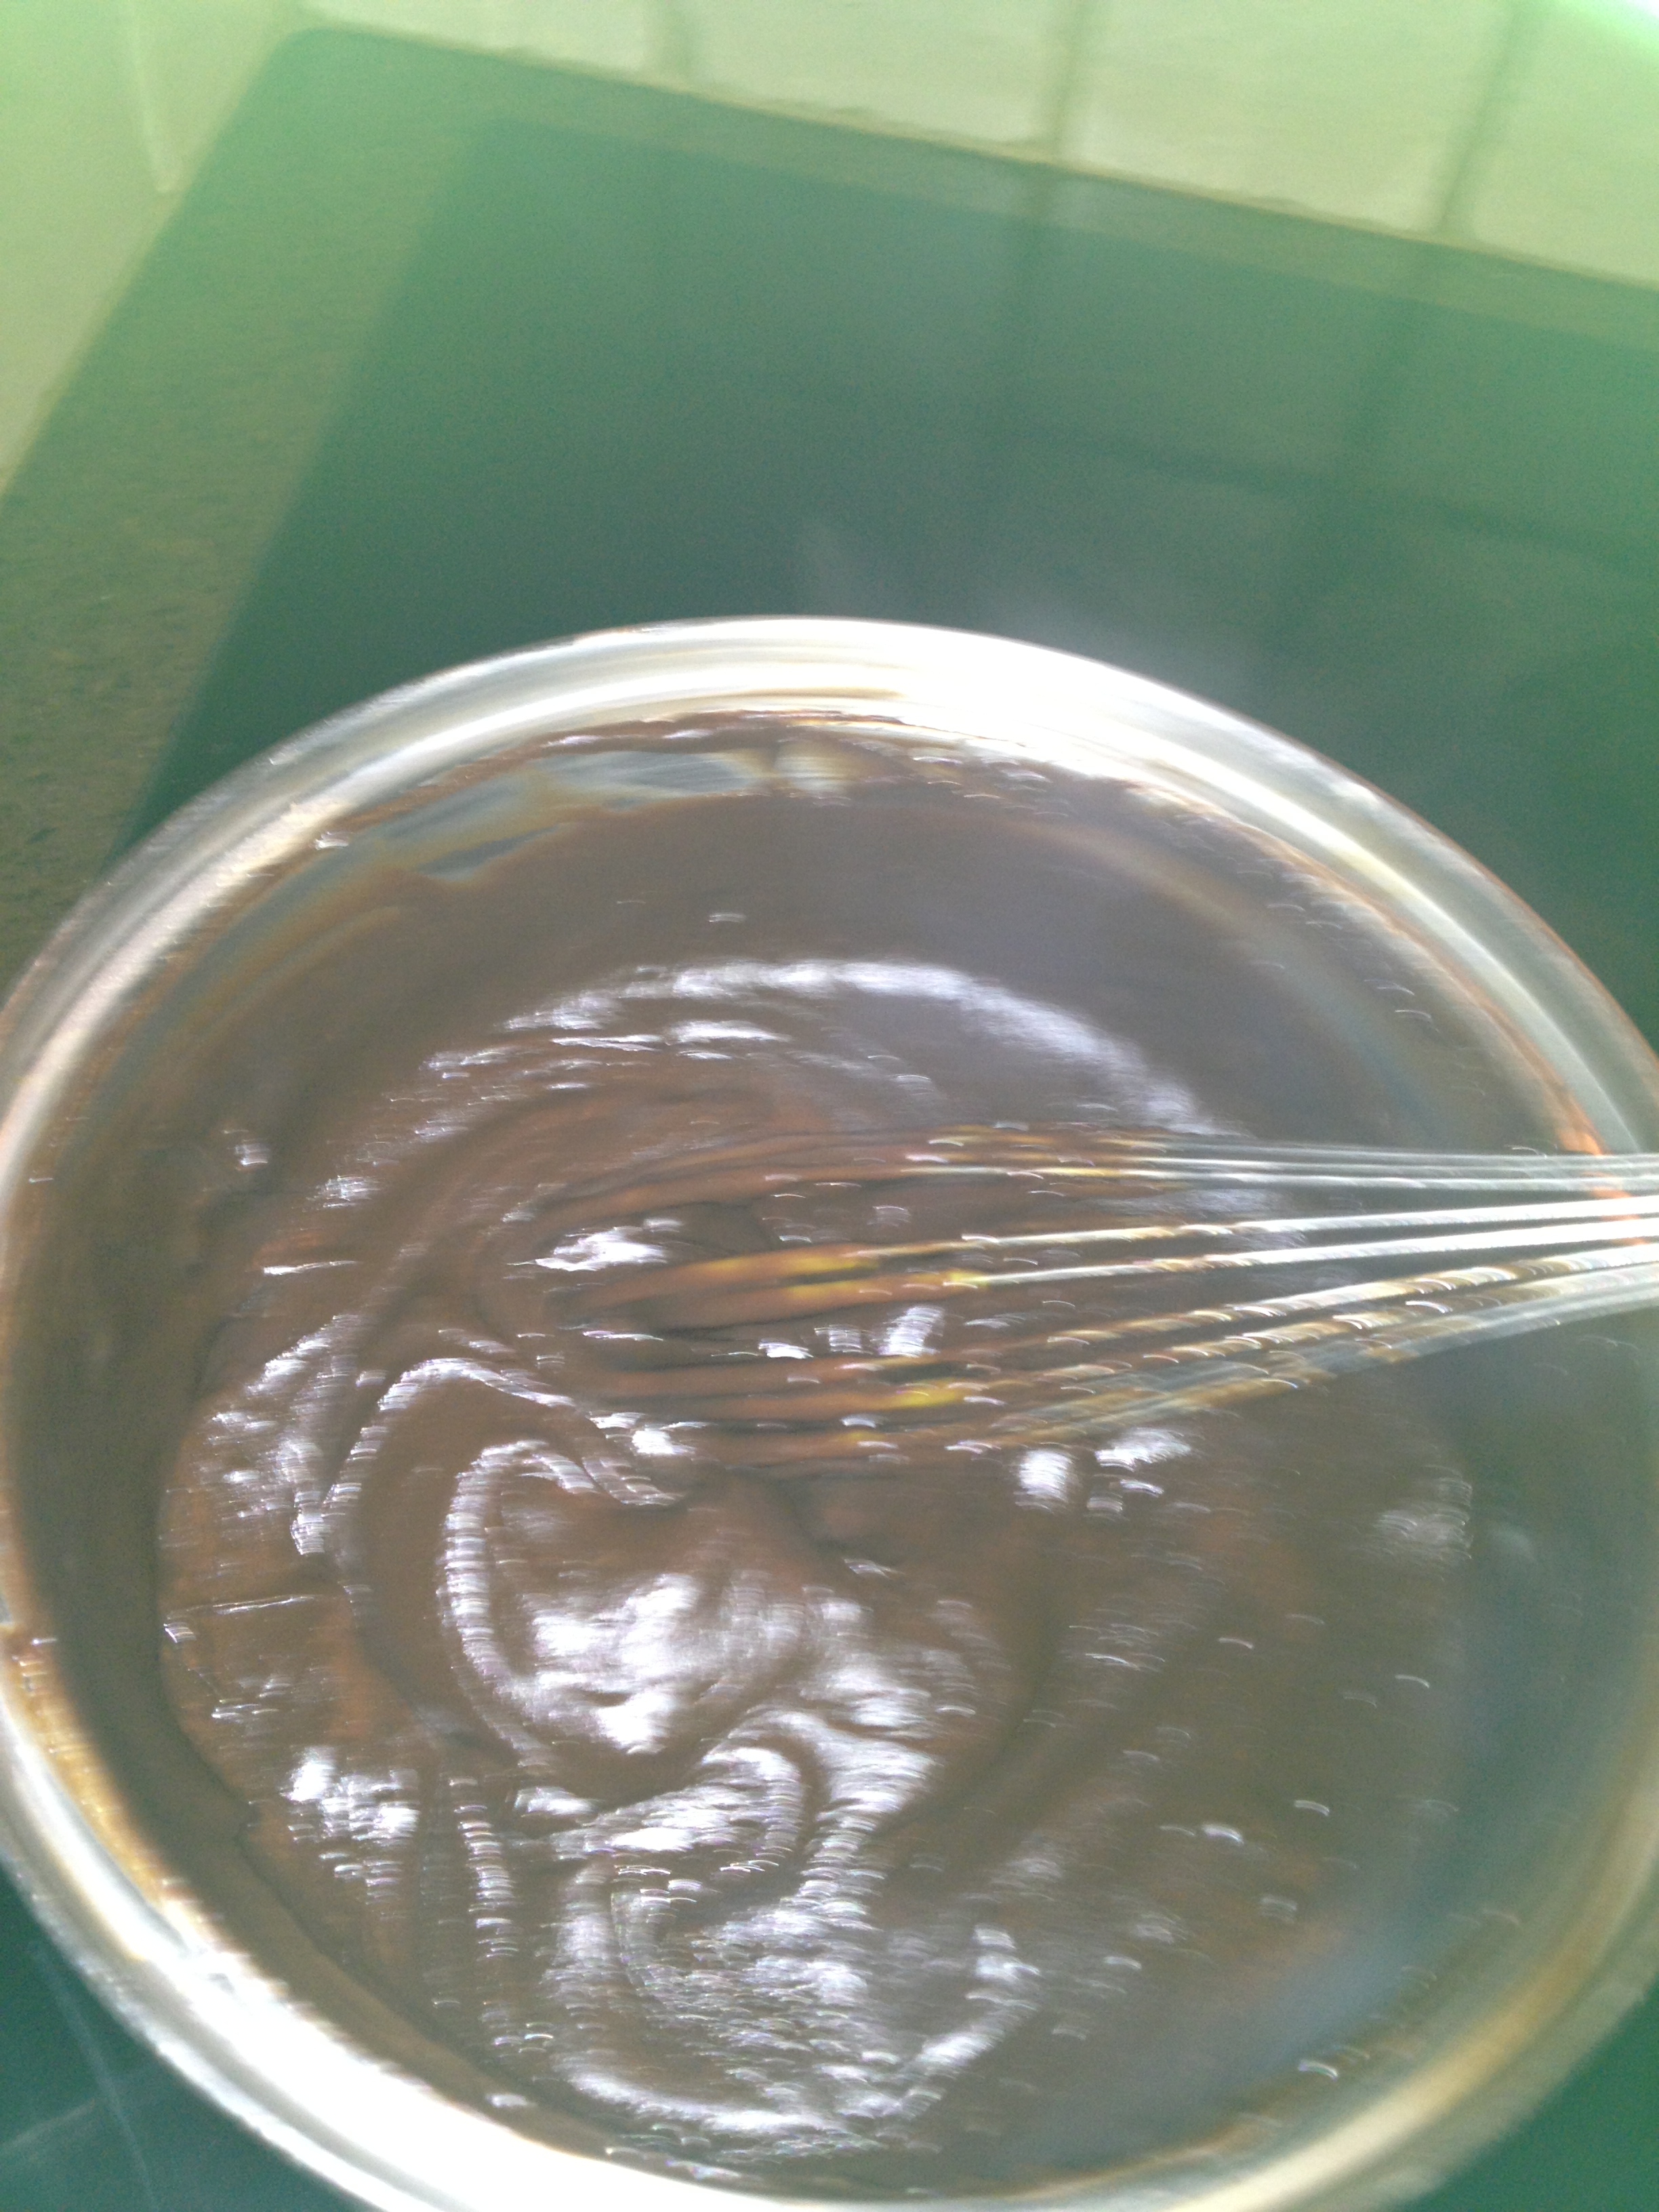
Over medium heat, whisk until it bubbles and thickens, about five to 10 minutes. Or until your arm is about to fall off! Lol (Sorry for the bad photography, y’all)

Pour into your blind-baked crust. NOTE: To avoid a “weeping” meringue, do not allow the filling to cool before putting on the meringue.
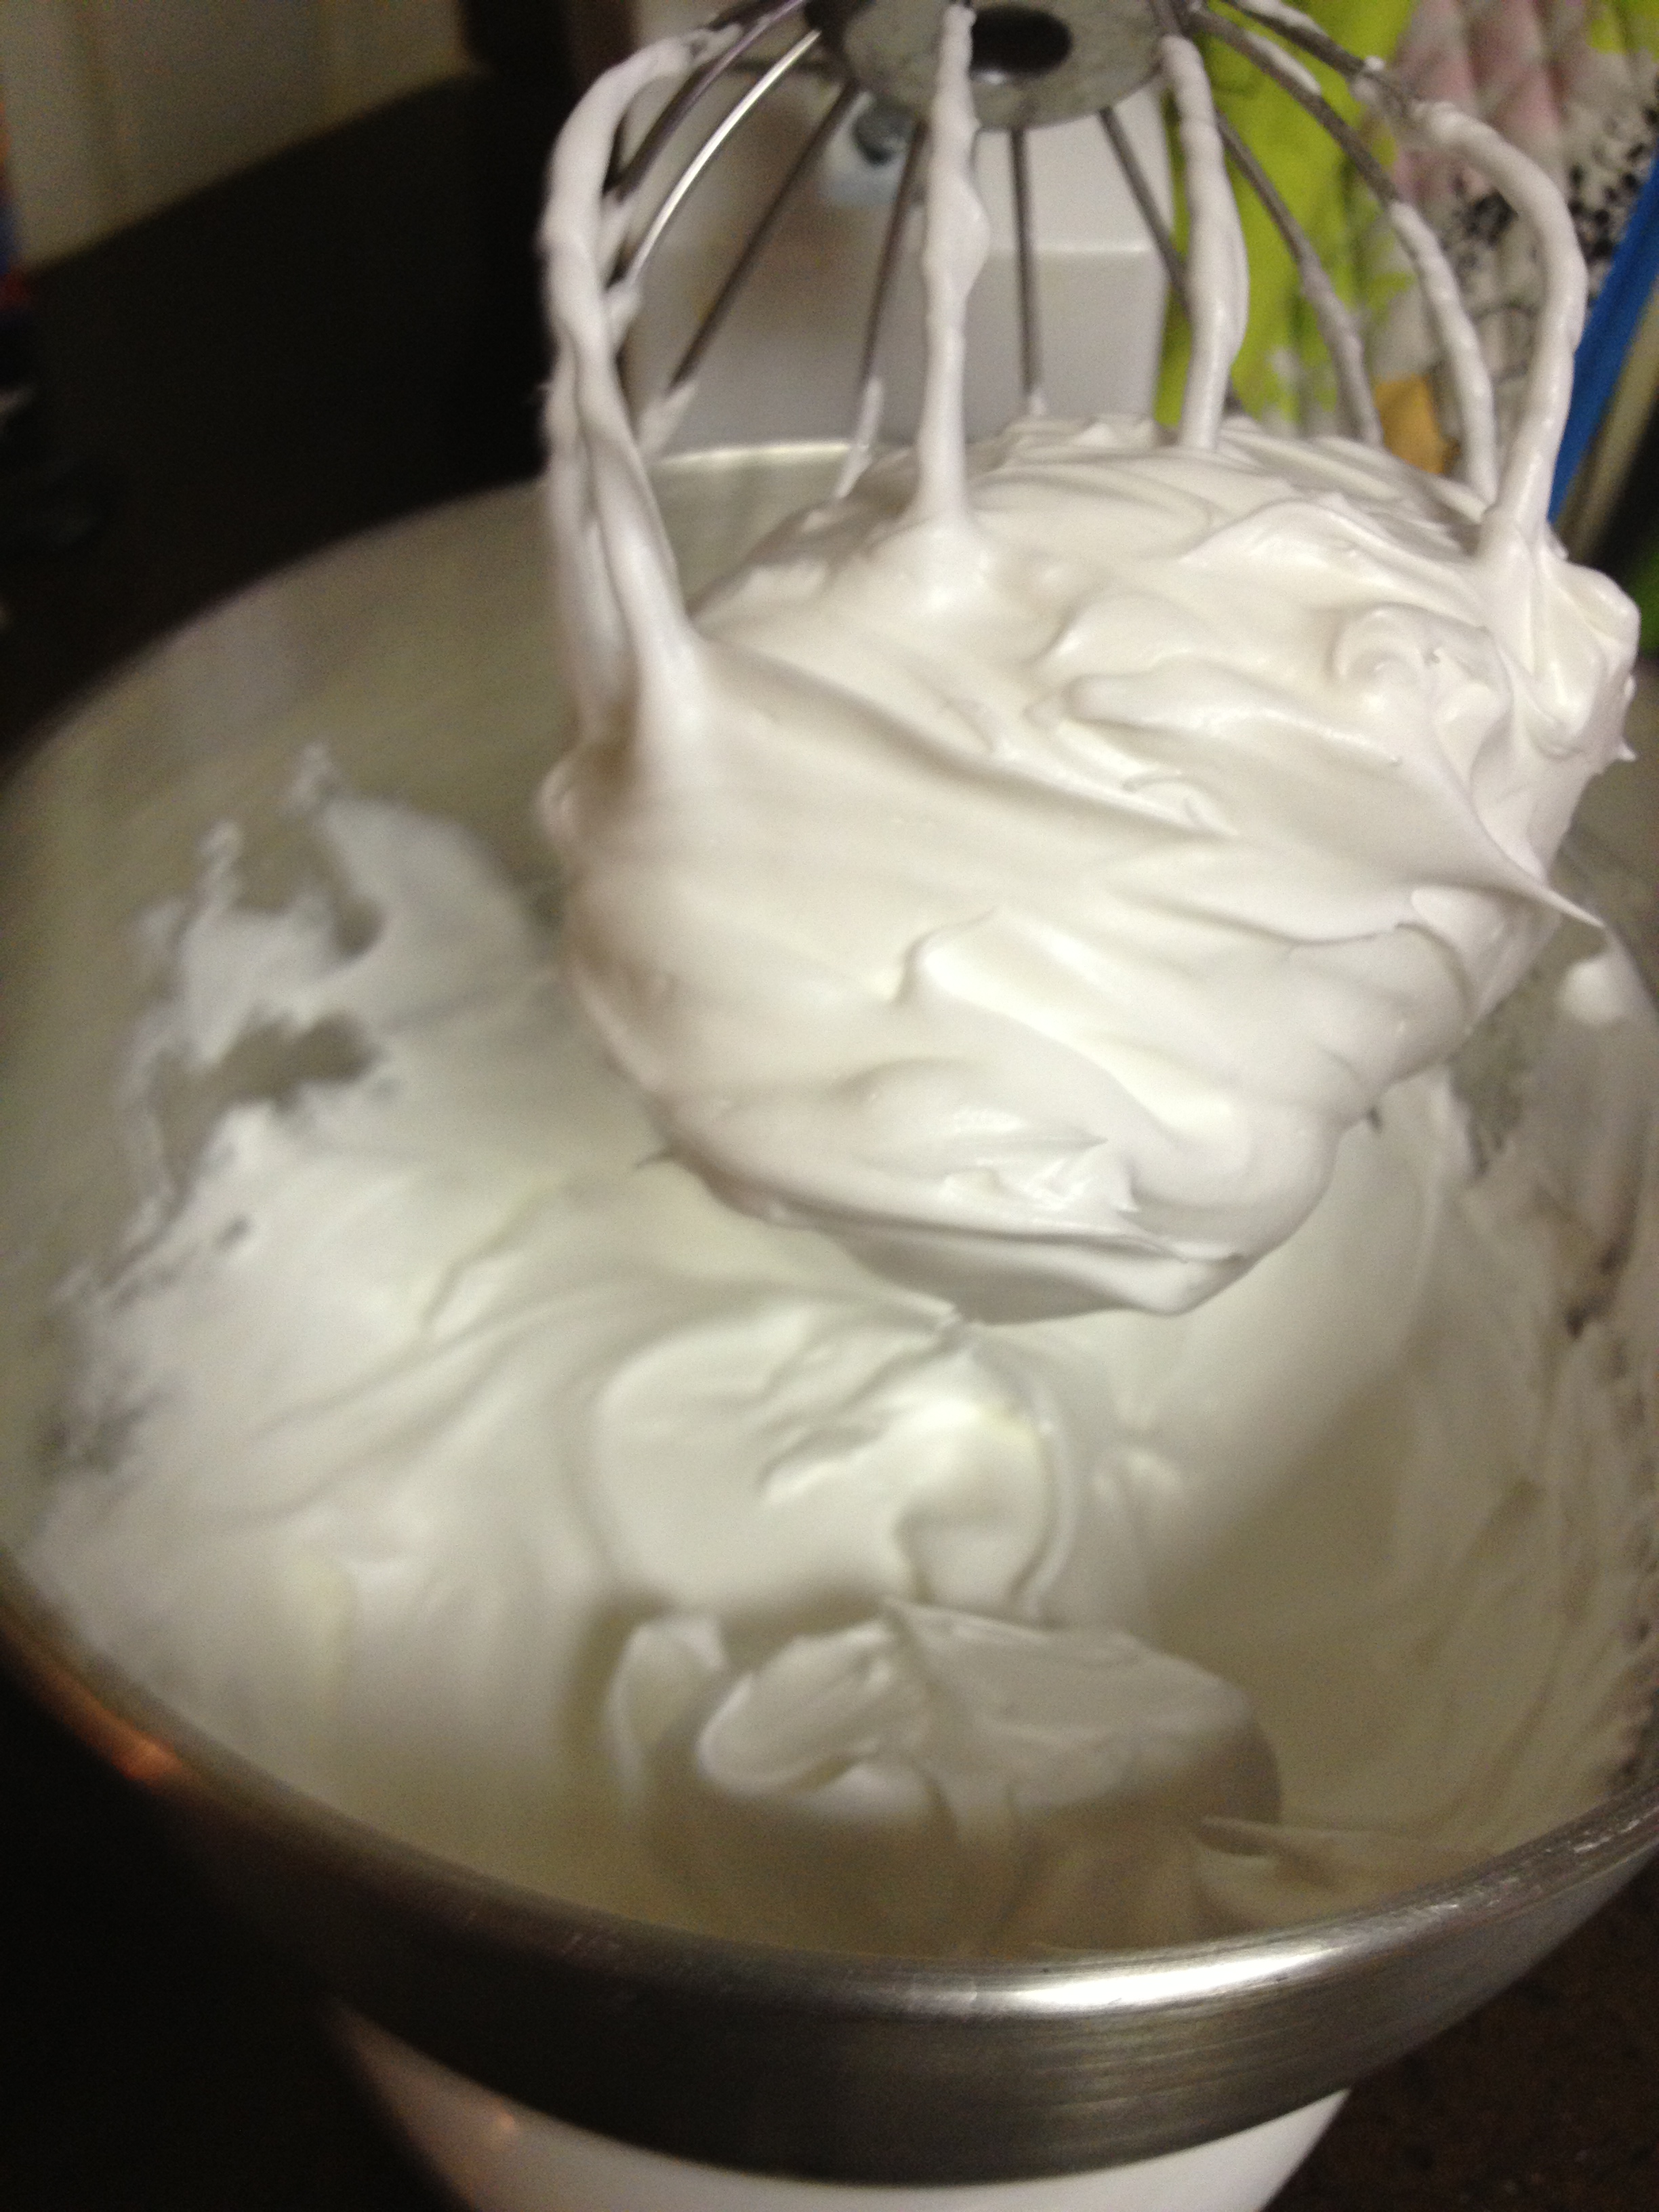
I like to use a stand mixer to make my meringue. Beat your egg whites with cream of tartar and salt, then when they start to get fluffy add the sugar. Mix until stiff peaks form.

I use a spatula to pile my meringue on top of my “still warm” chocolate filling.

Sorry, I couldn’t wait y’all. I just had to cut that first piece!!!
Grandma’s chocolate meringue pie
Filling ingredients:
1-1/2 cups sugar
1/2 cup cocoa powder
1/4 teaspoon salt
1/2 cup all-purpose flour
4 eggs, separated
2 cups whole milk
1 teaspoon vanilla extract
1 tablespoon of butter
1 9-inch “pre-baked” pie crust, cooled (see recipe below)
Meringue ingredients:
4 egg whites
pinch of salt
1/4 teaspoon of cream of tartar
6 tablespoons of sugar
1/4 teaspoon of vanilla (optional)
First, poke holes in your pie crust with a fork (even up the sides of the pie pan) and bake it at 350 until its brown, about 20 minutes.
Mama always said: “ALWAYS use a glass Pyrex pie plate! NEVER use metal pan or that store bought frozen pie crust!”
In a large heavy stainless steel sauce pan (not Teflon!), mix your sugar, flour, salt, cocoa, egg yolks and milk (all except vanilla and butter) with a whisk.
Cook while stirring on medium until it bubbles and thickens, about five to 10 minutes. If it becomes lumpy, just beat out the lumps. (It will not get any thicker in the oven so cook until it’s as thick as you want it.) Remove from heat and stir in your vanilla and butter.
Grandma always said: “To avoid a “weeping” meringue, do not allow the filling to cool before putting on the meringue.”
Beat your egg whites with salt and when they start to get fluffy add the sugar. Pour the “still warm” chocolate custard into the baked pie shell and top with the beaten egg whites. Bake it until it the peaks on the meringue are lightly browned, about 10-15 minutes.
Mixing the Meringue
I find that there is a real cadence to mixing the meringue. And it wasn’t until I got my Kitchen-Aid stand mixer that I really mastered the art of the meringue − I still to this day don’t know how my Grandma and my Mama got their meringues so high using just a handheld mixer!
Ok, here’s how I do it: With the egg whites in the mixer bowl, turn on the mixer and get it going on high speed. Then drop in the 1/4 teaspoon of cream of tartar to stabilize the meringue. In a matter of seconds, the whites will be frothy. Then it’s time to start adding the six tablespoons of sugar, one at a time. After that, it’s time to add the 1/4 teaspoon of vanilla (if you want to). By the time you have moved through this process — not rushed, yet without dawdling — your meringue should have whipped up into a mountain and stiff peaks will be forming. When you see the stiff peaks, stop mixing.
Timing is Everything!
The moment your pie crust is filled or your pudding is made, start your mixer and begin making the meringue. That way the filling is still hot when you put the meringue on, This prevents that watery layer between the filling and the meringue that sometimes develops after the meringue is baked.
Grandma always said: “When making meringue for a pie, spread the meringue out touching it so that it seals with the pastry crust. This seals the meringue to the pastry when it’s cooking. You do not want your meringue to slip off the top of your pie, do you?”
Grandma’s Rules for Making the Perfect Meringue:
1. Let the eggs come to room temperate before separating the yolks from the whites. You MUST beat egg whites at room temperature for the highest peaks.
2. Separate your eggs carefully. Egg whites should contain no pieces of eggshell and absolutely no yolk. If you see any yolk, start over!
3. Make the meringue immediately after finishing your pie filling or pudding. Meringue should always be put on a warm pie!
Grandma’s Pie Pastry Crust
Makes a 9-inch single-crust pie
1-1/3 cups all-purpose flour, divided
1/2 teaspoon salt
3 tablespoons cold ice water
1/2 cup Crisco or other good shortening (Do NOT use butter!)
For a 9-inch double- or lattice-crust, just double this recipe.
Preheat oven to 425°F. Put the Crisco in a medium bowl. Over it, pour the flour and the salt. With a pastry blender (some old timers use a fork), cut the flour and salt into the Crisco until the mixture resembles coarse meal. One tablespoon at a time, sprinkle the ice water over the mixture, and work it in with the pastry blender. You may not need all three tablespoons before the dough comes together and can be pressed into a ball. Remember, the less you work the dough, the lighter and flakier the pastry. Flatten the dough ball into a 6-inch round disk, double-wrap in plastic wrap or waxed paper, and refrigerate for 30 minutes before rolling the dough.
Place the chilled dough between two sheets of waxed paper and roll to a thickness of about 1/8 inch in a circle about 12 to 13 inches in diameter. Pell off the top piece of waxed paper, invert a 9-inch pie plate on dough surface, and turn the sheet of dough and the pie plate over. Center the dough on the pie place, if necessary, and peel off the second sheet of waxed paper (tear off in pieces if you like). Fit the dough into the pie plate without stretching it. If the dough tears a little, just pinch it back together. Trim the dough to overhang the edge of the pie plate by about 1-1/4 inches, then turn under to make an edge. You can put a fancy crimp in the edge at this point, if you wish.
An alternative method is to dust your work surface or pastry mat liberally with flour, and then roll out the dough to the proper size. The dough can then be rolled up (loosen an edge with a spatula or baker’s knife) on the rolling pin and transferred to the pie plate.
Pre-Baked Pie Crust:
For a pre-baked pie shell, once your pastry is in the pan, trimmed and crimped, prick the bottom and sides of pastry with a fork to avoid air pockets developing, and bake in a 425°F oven for 10 to 12 minutes until the crust is lightly browned.
Mama’s Tip: “Tear off a piece of foil just larger than the pie pan, spray one side of foil lightly with Pam. Gently lay the piece of foil into the unbaked pie crust and pour just enough dried beans over the foil to fill just the bottom of the pie pan-this will help the pie crust from making air pockets while it’s baking!”
Melanie’s Note: Cheat and make your pie crust in a food processor! Put the flour and salt in the processor bowl and pulse a few times to mix. Add the shortening to the flour mixture, and process about 10 seconds until mixture is the consistency of coarse meal. With the food processor running, slowly add ice water in a thin stream just until the dough holds together. Do not process the dough for more than half a minute or you’ll have the toughest pie crust ever (can you say Play-Doh?!?) Lol

What a beautiful pie! Makes me hungry for pie and it’s only 6:30 in the morning. The pie and memories are both wonderful.